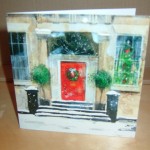
Turn This Old Christmas Card
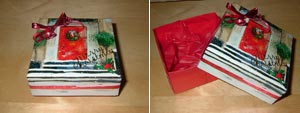
Into This Christmas Card Gift Box
Materials Needed
- 1 Old Christmas Card (preferably square, although once you have practised with a few, you can use any shape card cut down to your required size)
- A piece of tissue paper or wrapping paper (sufficient to form 3 squares slightly larger than the Christmas card)
- Glue, or glue stick or double sided tape / sticky tape
- Ribbon &/or stickers &/or embellishments / glitter etc to decorate
How long will it take?
Approx 10-15 minutes depending on final decoration
Step 1
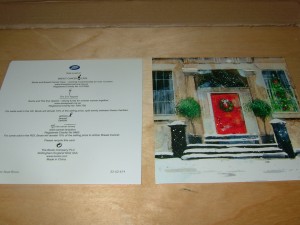
Cut the card in 2 along the fold
Step 2
Cut the tissue paper or wrapping paper into 3 squares, each slightly larger than the back piece of the Christmas Card. Using 2 of the squares, with glue /glue stick / double sided tape, cover the back piece of the card (front and back).
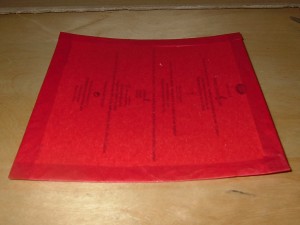
Covered Back Piece of Card
Step 3
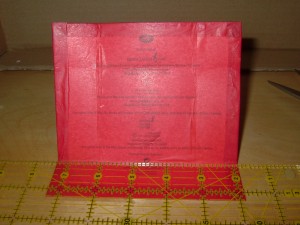
Use a ruler to create the folds
Place a ruler approx 1 inch over one edge of the covered piece of card (this determines the height of the box side, so you can make this narrower or wider to suit). Fold the card against the ruler.
Repeat this for each edge, making sure you keep the same distance from the edge to the fold each time.
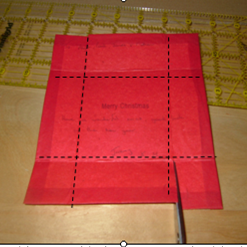
The dotted lines represent the folds
Step 4
Make 4 cuts along the fold as shown by the blue arrows in the picture below. Do NOT cut beyond where the folds cross (i.e as demonstrated by the white star for one of the cuts).
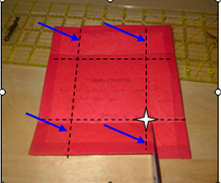
Cut along each of the indicated folds
Step 5
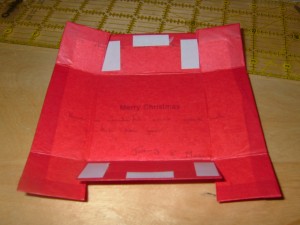
Apply some glue or sticky tape to each of the 2 middle tabs you have created, bend the side up & fold each end in to stick against the middle tab to form the box base.
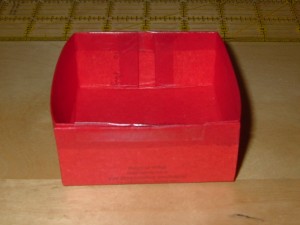
Completed Gift Box Base
Step 6
The lid for the box, made from the front part of the Christmas Card, needs to be slightly larger than the base to ensure it slots over it. One of the easiest ways to achieve this, is to place the front of the card face down on the table and use the box base you have already made as a template to trace round. Take care to place the base compeltely central on the card.
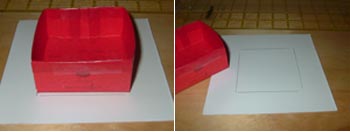
Use the box base as a template for the lid
Step 7
Repeat steps 3 to 5 above to make the lid, as it is formed the same way as the base.
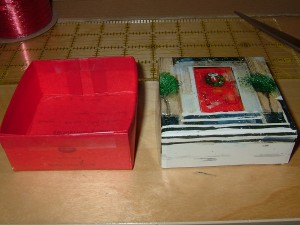
Step 8
Take the remaining square of tissue paper/ wrapping paper, scrunch it slightly and place into into the gift box base.
Finally decorate the sides & top of the lid with ribbon, bow, embellishments, stickers and/or glitter as you desire.
Happy Crafting !!
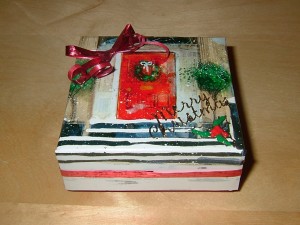
Finished Handmade Christmas Card Gift Box
If you would like to download these instructions to your computer, please right click on the link below & then select ‘save link as’ or ‘save target as’



Leave A Comment
You must be logged in to post a comment.