Acrylic paints are a versatile medium that can be used for a variety of different art projects. One popular way to use acrylics is through gelli plate printing. This type of printing involves using a special plate to create unique patterns and designs on paper or fabric.
If you’re looking for a fun and creative way to use acrylic paints, gelli plate printing is a great option.
What is a Gelli Plate?
The Gelli Plate is a clear, flexible, reusable plate that is made from a proprietary gel-like material, typically composed of mineral oil, gelatin, and other preservatives. The exact composition of Gelli Plates is not disclosed by the manufacturer, as it is a trade secret.
They are available in a variety of sizes, the most common are:
- 5×7 inches
- 6×6 inches
- 8×10 inches
- 9×12 inches
- 12×14 inches
There are many other sizes available, including smaller ones for creating Artist Trading Cards and larger ones for creating larger prints. The size of the Gelli Plate you choose will depend on your personal preferences and the types of projects you plan to create.
How To Get Started with Gelli Plate Printing
Working with a Gelli Plate is easy and fun. Here are some steps to help you get started:
Need Some Inspiration?
Check out these fabulous YouTube tutorial videos by Vikki Reed:
How To Use Your Gelli Plate Prints
Gelli Plate prints can be used in a variety of art projects and crafts, here are some ideas:
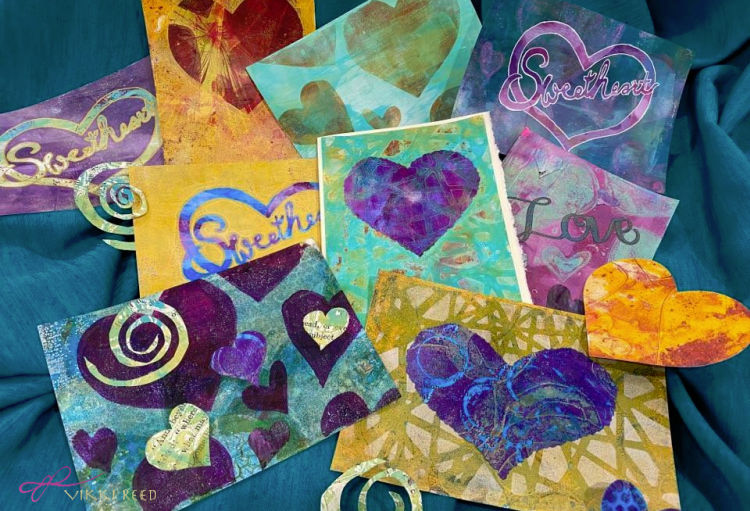
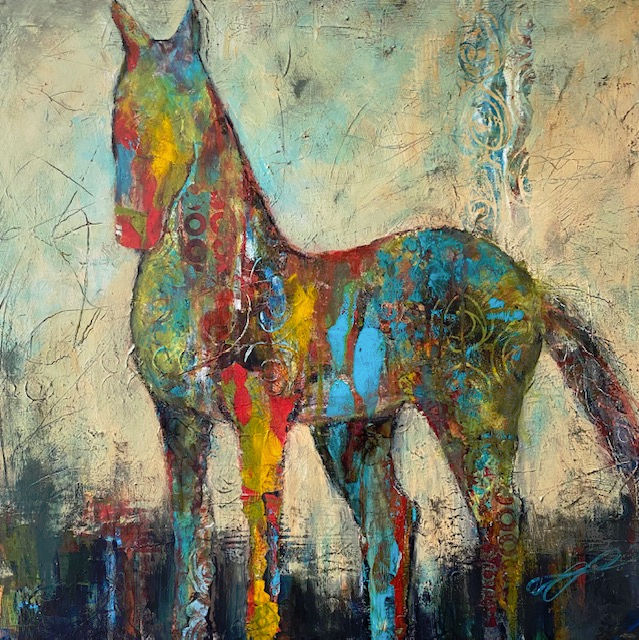
- Collage: Cut or tear your prints into smaller pieces and use them in collages or mixed media artwork (see example below)
- Card making: Use your prints to create unique and personalized greeting cards.
- Journaling: Incorporate your prints into your art journal pages for added texture and interest.
- Home decor: Frame your favorite prints and hang them on your walls as art pieces.
- Scrapbooking: Use your prints to embellish your scrapbook pages.
- Gift wrapping: Use your prints as wrapping paper or to create custom gift tags.
- Art prints: Create high-quality reproductions of your prints to sell or display.
- Fabric art: Use your prints to create unique fabric designs for quilting, sewing, or other fabric art projects.
These are just a few examples, the possibilities are endless!
Even if you are completely new to printmaking, it’s easy to pick up the basics of gelli plate printing; there are many excellent resources online that provide step-by-step tutorials.
And don’t forget, practice makes perfect – don’t get discouraged if your first attempts at gelli printing aren’t great; it just means you need more practice. If you want additional ideas and inspiration for using gelli plates, visit my friend Vikki’s Youtube Channel: https://www.youtube.com/@VikkiReed/videos
So what are you waiting for? Go grab your supplies and start creating beautiful works of art with gelli plate printing!


Leave A Comment
You must be logged in to post a comment.